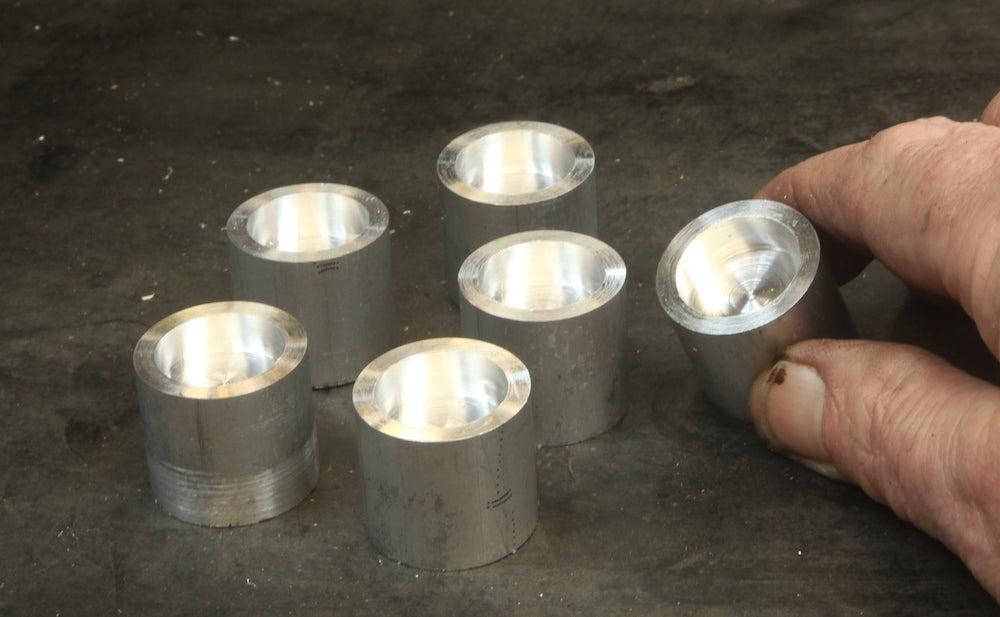
The business end, or body of the crank starts out as a section of one-inch diameter aluminum rod. I cut the aluminum to pieces a bit less than an inch long:

On the lathe, I face off one end of each piece, then reverse the piece, and face the other end to a consistent .90" length:
The lathe leaves a nice finish on the ends

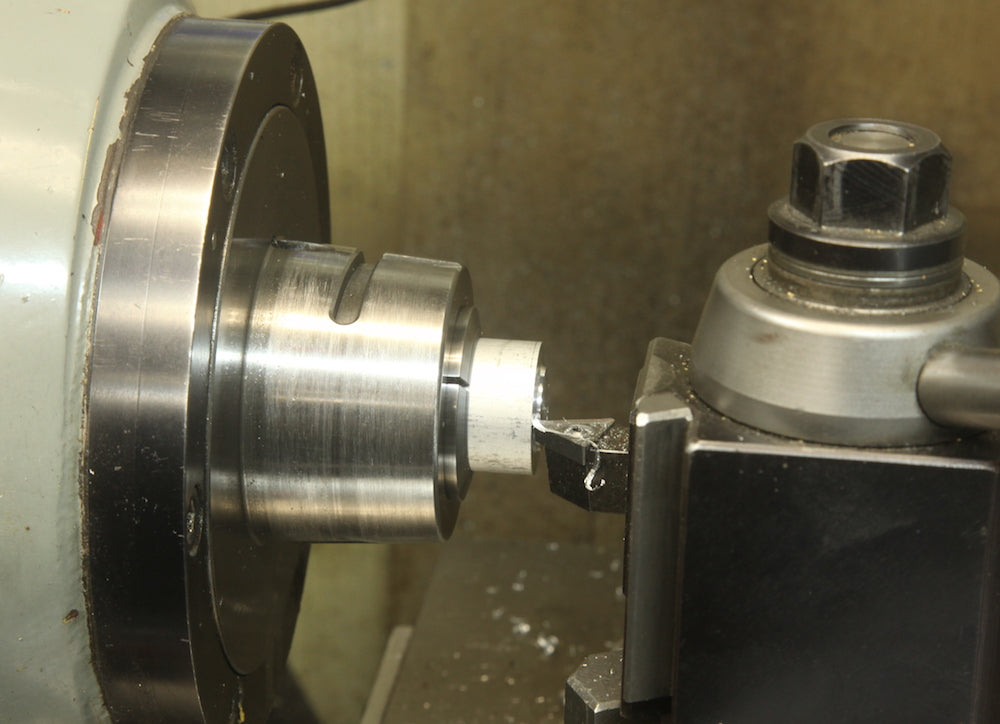
I have some holes bored in my vise jaws to accommodate the crank body as I plunge a 3/4" end mill to create the recess that will hold the plastic crank head in place:

The end mill makes a nice clean flat bottomed hole right on center, thanks to the alignment of the vise and machine spindle:
Back to the lathe to cut a small chamfer on the edge of the hole:
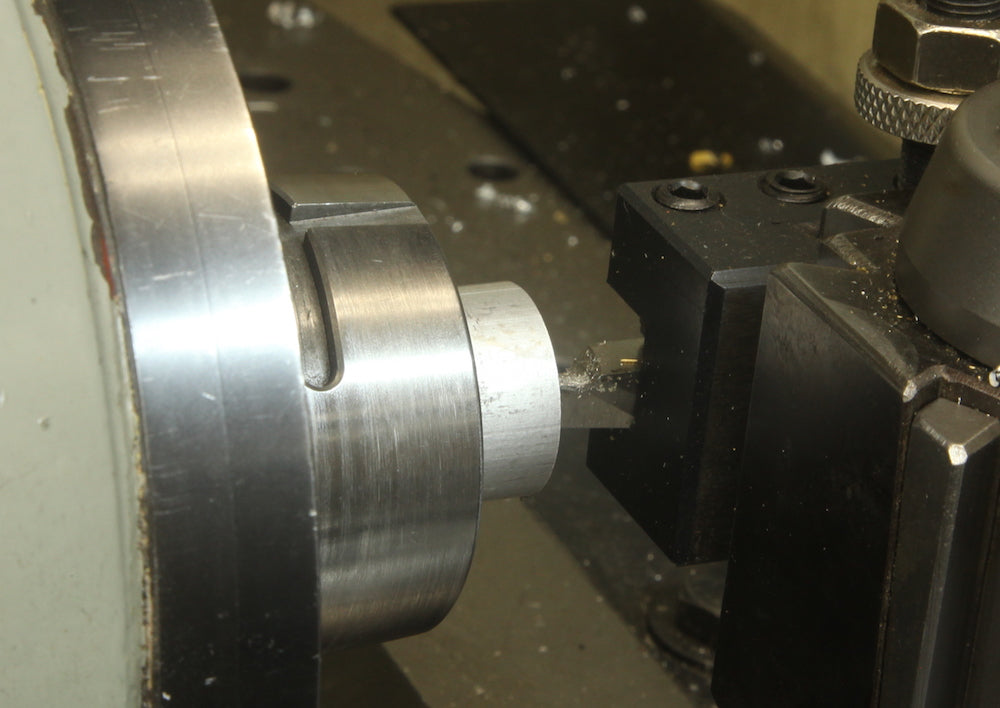
Even this tiny bevel is enough to facilitate pressing in the plastic part:

After a bit of cleanup of the exterior of the cylinder, I stick it back in the lathe to use a shop-made rounded form tool to produce the final shape of the crank body:

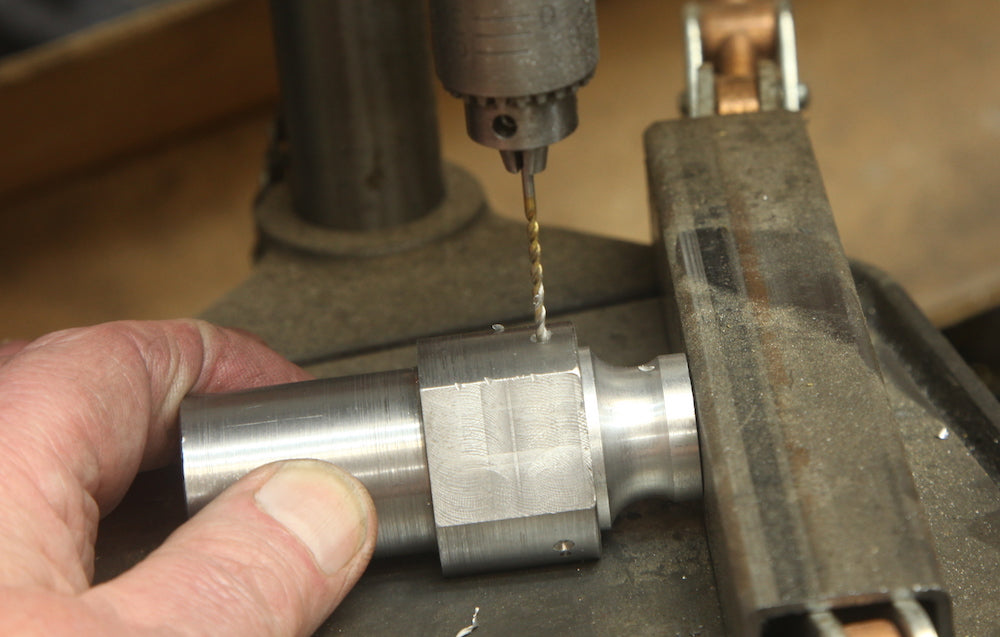
I made up this little holder to guide the drill and align three holes around the perimeter of the crank body:

By simply bumping up against a solid stop, I can hold the piece in place as I drill the 1/6" holes:
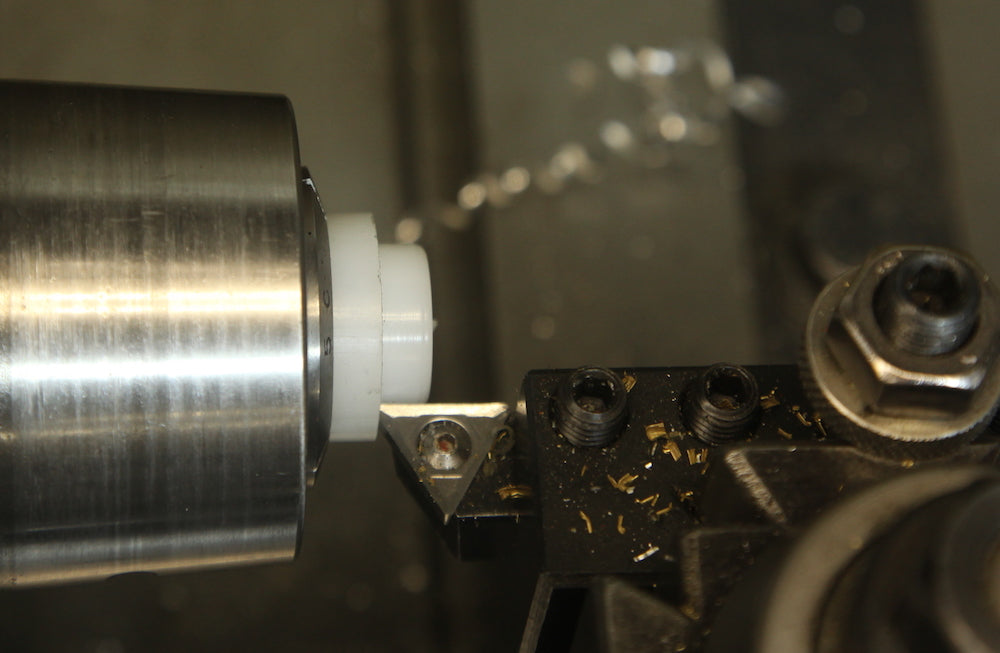
After trying quite a number of different materials, I finally settled on low density polyethylene for the crank head because it's soft and resilient, yet hard enough that I can machine it to a nice looking finish. Here, I'm cutting the diameter down to go into the 3/4" hole in the crank body:
I make it a tight fit, so I need to press it with the big bench vise to seat it up tightly, and then I tap in 5/16" long steel pins that go through the holes in the aluminum and directly into the plastic head.

A quick trip to the lathe to true up any errors in concentricity, and bevel the front edge a bit:

In order to align the slot in the head with the crank arm, I made a little tool that sticks into the crank arm hole and is trapped by the vise as I close it and grip the crank body for the last milling operation:

I plunge a ball end mill down, and run it back and fort to produce the correct size slot for the tuner buttons:

One more drop of the Loctite green compound:

And, a few seconds after inserting the handle arm into the hole, I have a finished crank. . .

