My shopping cart
Your cart is currently empty.
Continue ShoppingThis is a Gibson K-2 Mandocello from 1920. These were built much like their little brothers in the A style Mandolin family – with one small brace by the sound hole. Mandolin tops typically hold up, but with the heavier strings and wider surface area, the K-2 tops struggle to keep their arch. According to Frank and Richard, it’s pretty standard for the top to collapse on the K-2’s as a result of the light bracing.
Here’s a video showing the extent of the damage on this one, keep an eye on the reflected light to see the dimples and concavities around the bridge area. The top has cracked and completely let go.
After the top gave up, it looks like someone had to shim the bridge up half an inch to make it play at all. This also shows how flat the top is now. We’ll try to fix that, but first..


Here’s a tricky crack to fix. Lots of curves, and needs clamping pressure from multiple angles.

I made a little caul to match the sound hole radius, with a flat portion so we can pull it to the straight edge of the treble side. The downward pressure is more of a challenge, how about the chuck on the milling machine?

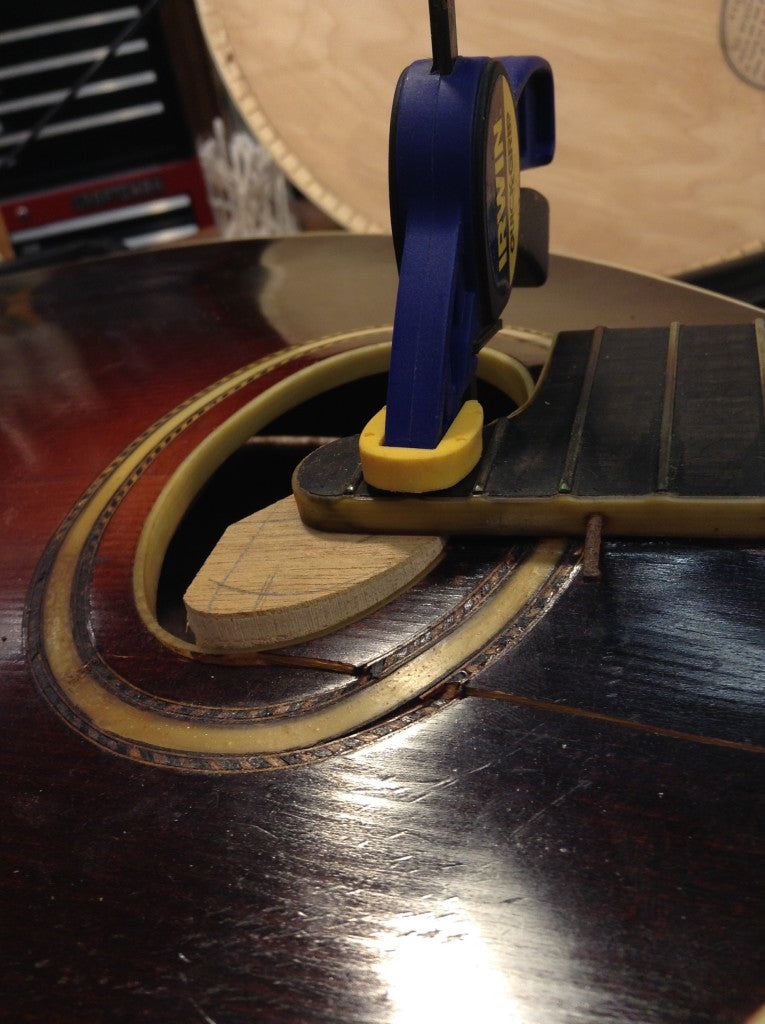
Here’s a handy wooden dowel in the chuck, took a minute to find the sweet spot but it lined up nicely.
 Pushing down on the top, and pulling the two halves together on the mill table.
 Here’s what you like to see : glue squeeze out all along the crack.
 Now the plan is to remove the back, and jack the top back up with a second brace. This brace will have more radius than the top does, and by clamping and gluing it in place we’ll get a bit of the arch to come back. Here’s a time lapse of me removing the back. Proof again that taking things apart is always faster than putting them back together.

Here is the only original brace, you can see why the top caved in. I’m recycling my caul from before to glue down one side of this brace.


Here’s the new brace getting shaved down to match the style of the original. Unfortunately I can’t seem to find photos of the brace going in..

Here’s the brace all shaped up, with a couple ultra-thin cleats on some top cracks.

Now to get the back glued on. The sides are slightly relaxed now that the back has been removed, and nothing really lines up. So here are some cool “bench clamps” Frank made that you drill into the bench and apply pressure from all sides.

Once they’re all in place we can line the pieces up and glue them back together. Couldn’t we have fit a couple more clamps on there?


It went together well and got new frets and set up.
