My shopping cart
Your cart is currently empty.
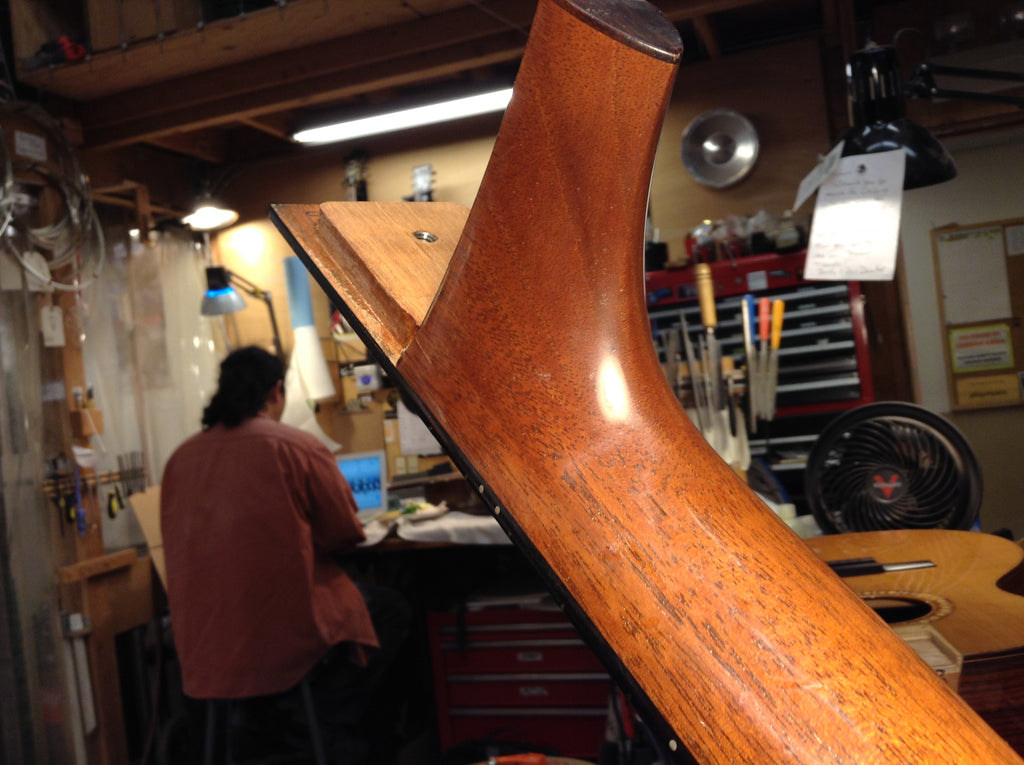
Continue ShoppingHere’s a Taylor that lost a fight with a car backing up. The heel split right in the middle, take a look.


Modern Taylors like this one have bolt on necks, so the advantage here is to loosen the bolts and remove the neck in order to do the repair. Here you can see the heel has two longer bolts that go through the neck block into the heel. There’s also a short bolt that holds on the tongue (or end of the fingerboard).

Now I have the neck off, the heel fell apart into two pieces. This is a cool break, just to display how these necks are put together. The threaded insert is right where the crack happened, and as a result the two pieces go back together really nicely when the insert is used as a pin.


Before I glue it up, i’ll clean up any wood fibers that are going to prevent a good alignment. Here i’m using a micro chisel.

I’m going to use epoxy for this repair, so I mixed up a batch and got my brush ready. To avoid getting epoxy in the threads of the insert, I put wax from this old candle on one of the bolts and threaded it in. This will make sure I can get it out again and keep epoxy from seeping in.


An aluminium caul protects the fingerboard from the clamps. Frank machined this out so the caul sits directly on the wood and doesn’t dent the frets or the wood. For the heel cap I taped on a small leather caul.
 Now I brush on the epoxy and clamp it up.


After wiping off the squeeze out, I put it aside for 24 hours or so. The clamps come off and then I need to do a little cleanup with a chisel to get off the excess epoxy on the underside. This will make sure it fits back in the neck pocket nice and tight.

I did some very light sanding on the finished side of the heel and gently buffed it, with the wheel at the low speed.

Came out pretty good.. I’m not trying to hit Michi by the way.